Mastering Exposure: A Beginner's Guide
Understand the exposure triangle and how light meters fit into the equation. Learn how to balance aperture, shutter speed, and ISO for perfect results.
Read More →
Stop guessing your exposure. Learn how a photography light meter can transform your images, from studio portraits to landscape photography. Find the right meter for your needs.
SEE TOP RECOMMENDATIONSWhy a Light Meter Matters: Your camera's built-in meter is convenient, but it can be fooled by challenging lighting conditions. A dedicated photography light meter gives you precise, reliable exposure readings, ensuring your photos are perfectly exposed every time—whether you're shooting in a studio, on location, or in unpredictable natural light.
A photography light meter is a device that measures the intensity of light in a scene. It helps photographers determine the correct combination of aperture, shutter speed, and ISO to achieve a well-exposed image. While modern cameras have built-in meters, external light meters offer greater accuracy, especially in complex lighting situations.
There are two main types of light meters: incident meters, which measure the light falling on your subject, and reflected meters, which measure the light reflected off your subject. Each has its own strengths and ideal use cases, which we'll explore in detail below.
These meters measure the light falling directly onto your subject. You hold the meter near your subject and point the dome toward the camera. They are incredibly accurate for studio work and portraits because they ignore the reflectance of your subject.
These meters measure the light reflected off your subject. Spot meters allow you to measure light from a specific, narrow area, making them ideal for landscape and wildlife photography where you need to meter a distant subject.
Color meters go a step further by measuring both light intensity and color temperature. They are essential for professional cinema and photography where accurate color reproduction is critical, helping you set the correct white balance.
Your camera's built-in meter is calibrated to expose for middle gray (18% reflectance). This works well in many situations, but it can fail in high-contrast scenes, backlit subjects, or when your subject is predominantly white or black. A dedicated light meter solves these problems by giving you a true reading of the light, not a reflected average.
For photographers using manual mode or shooting film, a light meter is an indispensable tool. It helps you nail the exposure on the first shot, saving time and reducing the need for post-processing corrections. If you're exploring astrophotography or black and white 35mm film, a light meter becomes even more crucial for capturing the subtle details in challenging lighting.
When shopping for a light meter, consider your primary shooting style and budget. Here are the key factors to evaluate:
Decide between incident, reflected (spot), or both. Many modern meters offer both modes, giving you maximum flexibility. If you shoot a mix of studio and outdoor work, a combination meter is a wise investment.
If you work with strobes or speedlights, ensure your meter can measure flash output. This is a must-have feature for studio photographers and anyone using off-camera flash.
For videographers and cinematographers, a meter with color temperature measurement is invaluable. It helps you maintain consistent color across different lighting setups.
Entry-level meters start around $100, while professional models can exceed $500. Consider build quality, ease of use, and whether you need advanced features like wireless triggering or smartphone integration.
⚠️ AFFILIATE DISCLOSURE: This website contains affiliate links. As an affiliate Associate, we earn from qualifying purchases. If you make a purchase through these links, we may receive a small commission at no additional cost to you. Read our full affiliate policy.

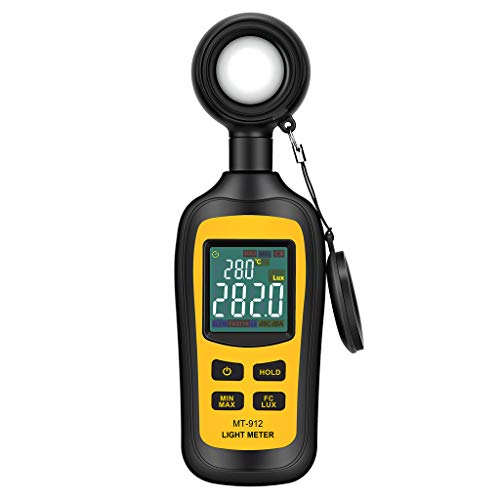
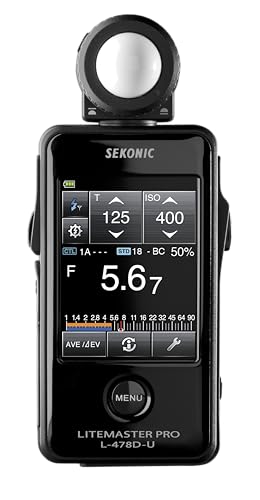
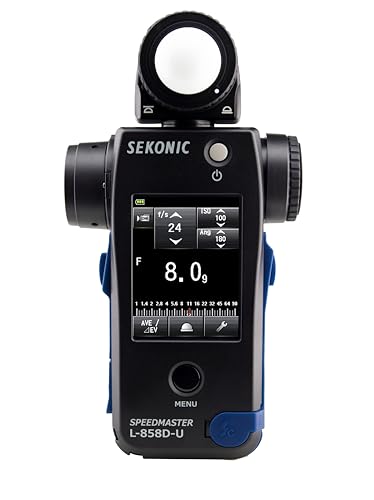


Using a light meter is straightforward once you understand the basics. For incident metering, place the meter at your subject's position, point the dome toward the camera, and take a reading. For spot metering, point the meter at a specific area of your subject and take a reading. Then, transfer the recommended settings to your camera.
Practice is key. Try metering different scenes and comparing the results with your camera's built-in meter. Over time, you'll develop a keen sense of exposure that will elevate your photography. For those using viewfinder cameras or beginner professional cameras, a light meter can be a game-changer in understanding how light interacts with your subject.
Understand the exposure triangle and how light meters fit into the equation. Learn how to balance aperture, shutter speed, and ISO for perfect results.
Read More →From light meters to reflectors and CPL filters, discover the gear that will take your photography to the next level.
Read More →Before you buy a light meter, make sure you have the right camera. Our guide covers top cameras for beginners and affordable options.
Read More →The information provided on AllCameraGuide is for educational and informational purposes only. We are not professional camera technicians or photographers, and our content should not replace professional advice. Always consult with a qualified expert regarding camera compatibility, safety, or technical concerns. Some content may use AI assistance. Always check product warranties and safety standards before purchasing. If you do not agree, please do not use this website. Read the full disclaimer.